Installation and license activation
This section describes how to install perClass Mira software and activate its license.
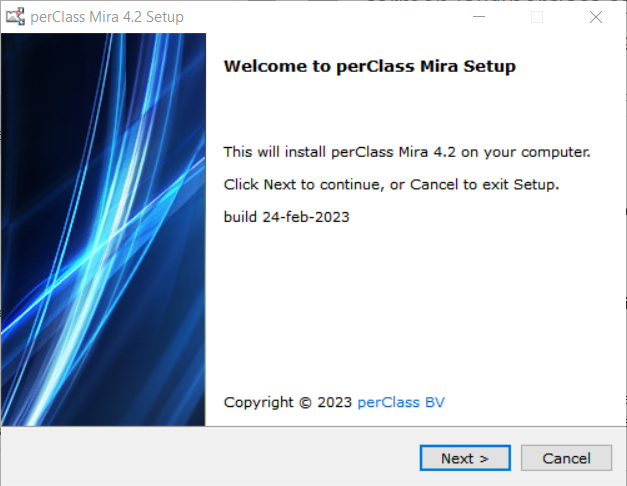
Run the installation file, the installer dialog will appear:
In case you already have an existing perClass Mira installation, the following dialog will also appear:
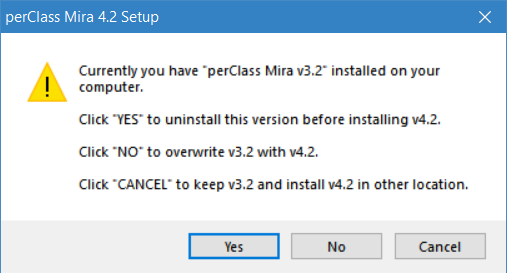
If you wish to install the new release into a directory you specify, click on Cancel button.
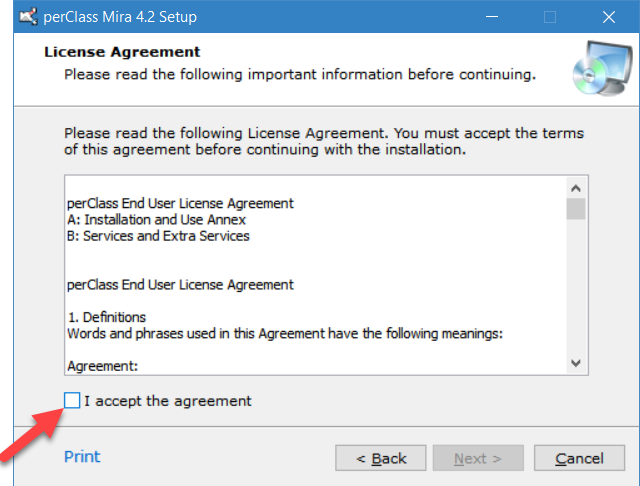
You need to accept end-user license agreement before proceeding:
If you selected to customize location, you may now specify the installation directory:
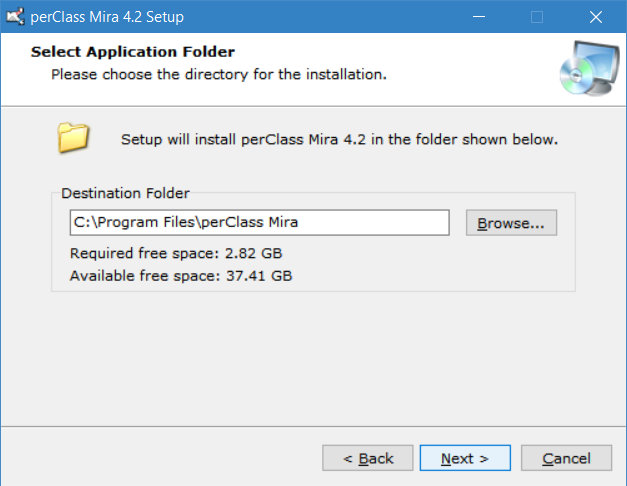
TIP: You may freely install multiple releases of perClass Mira on the same computer. If you, it is recommeded to use full version including date in the file name, for example: "perClass_Mira_4.2_24feb23"
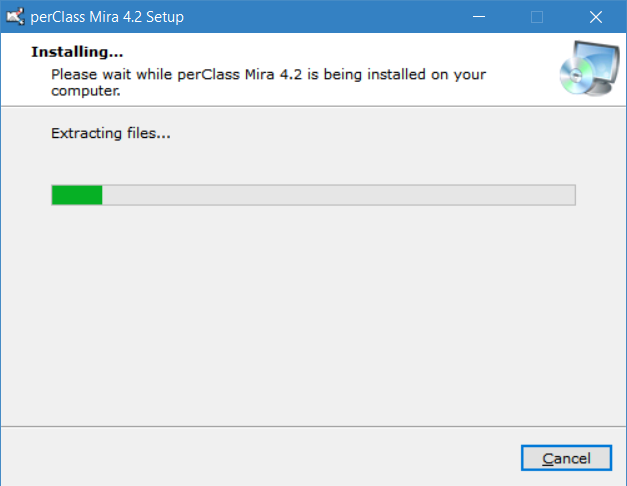
In the last step, you may confirm or cancel the installation:

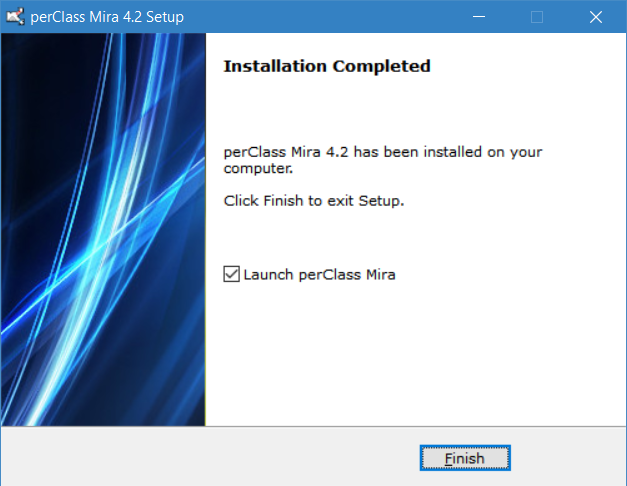
After extracting the files:
Finally, you may launch the installed software directory from the installation dialog: